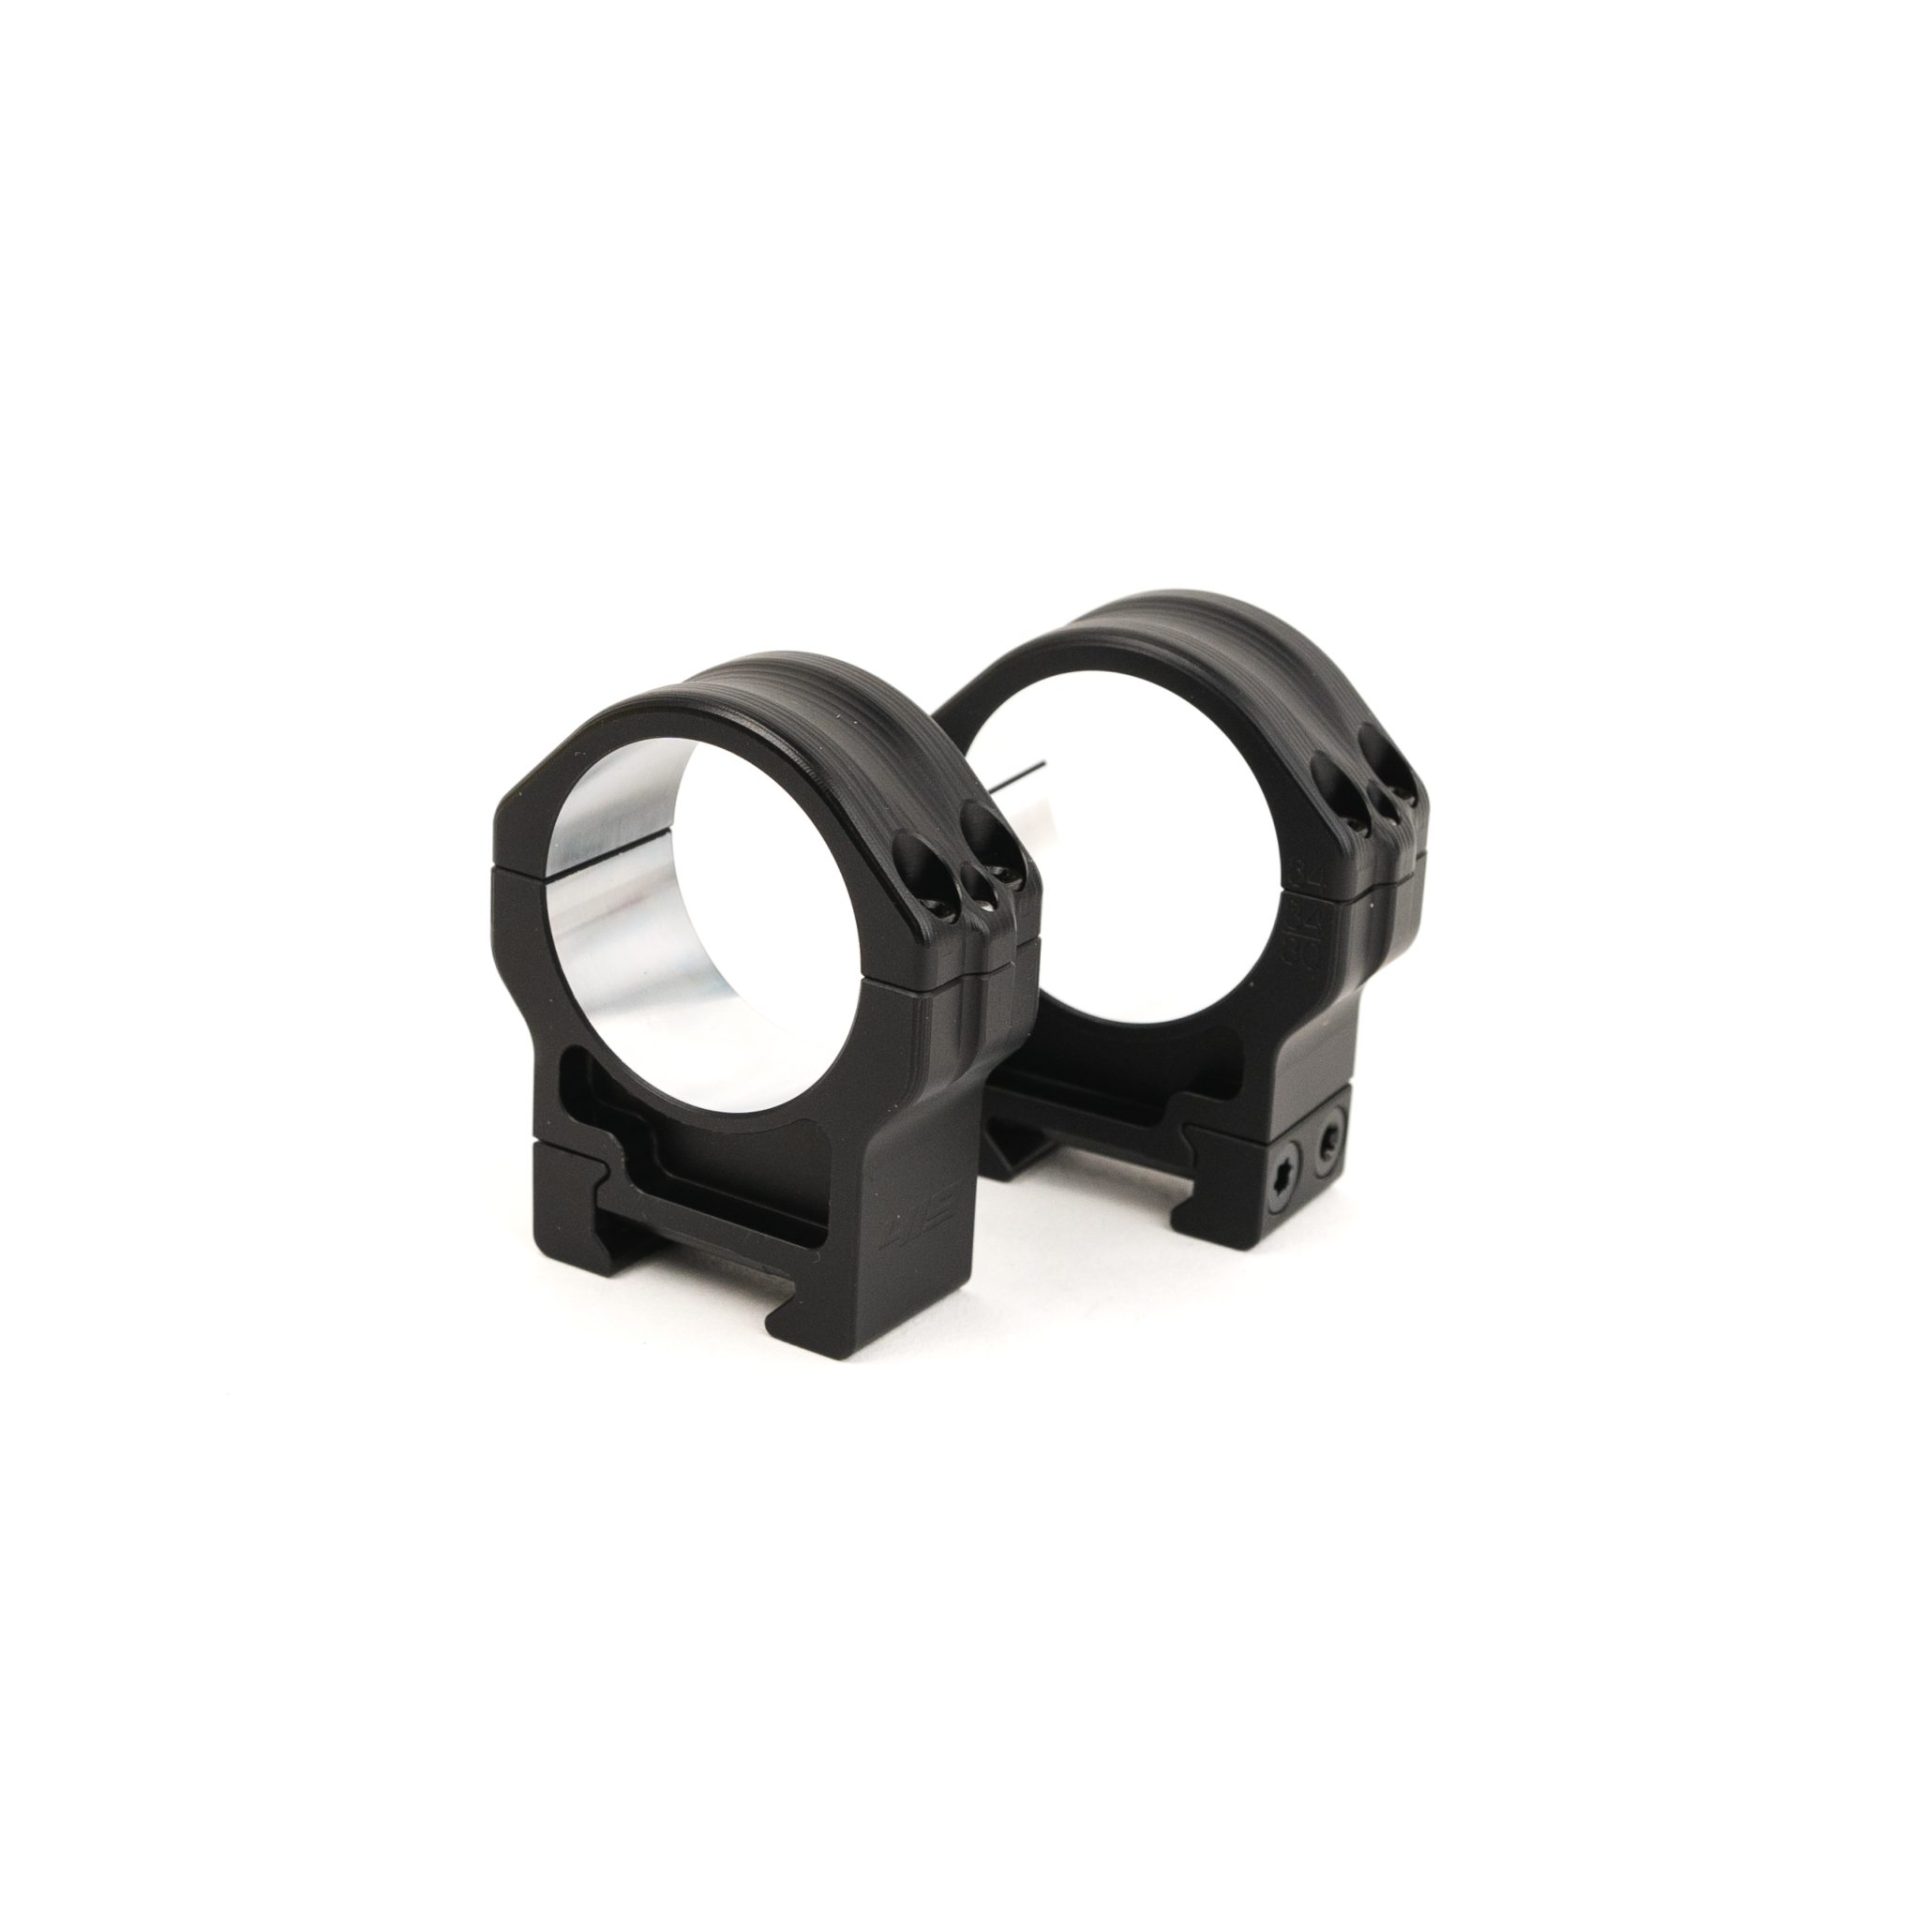
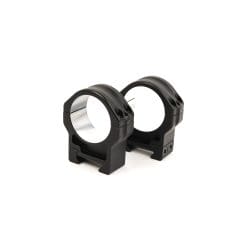
Given the success of our MATCH and TACTICAL scope mounts, we knew what the HUNT rings needed to be. Light, rigid, and able to hold onto an optic in a dramatic recoiling environment.
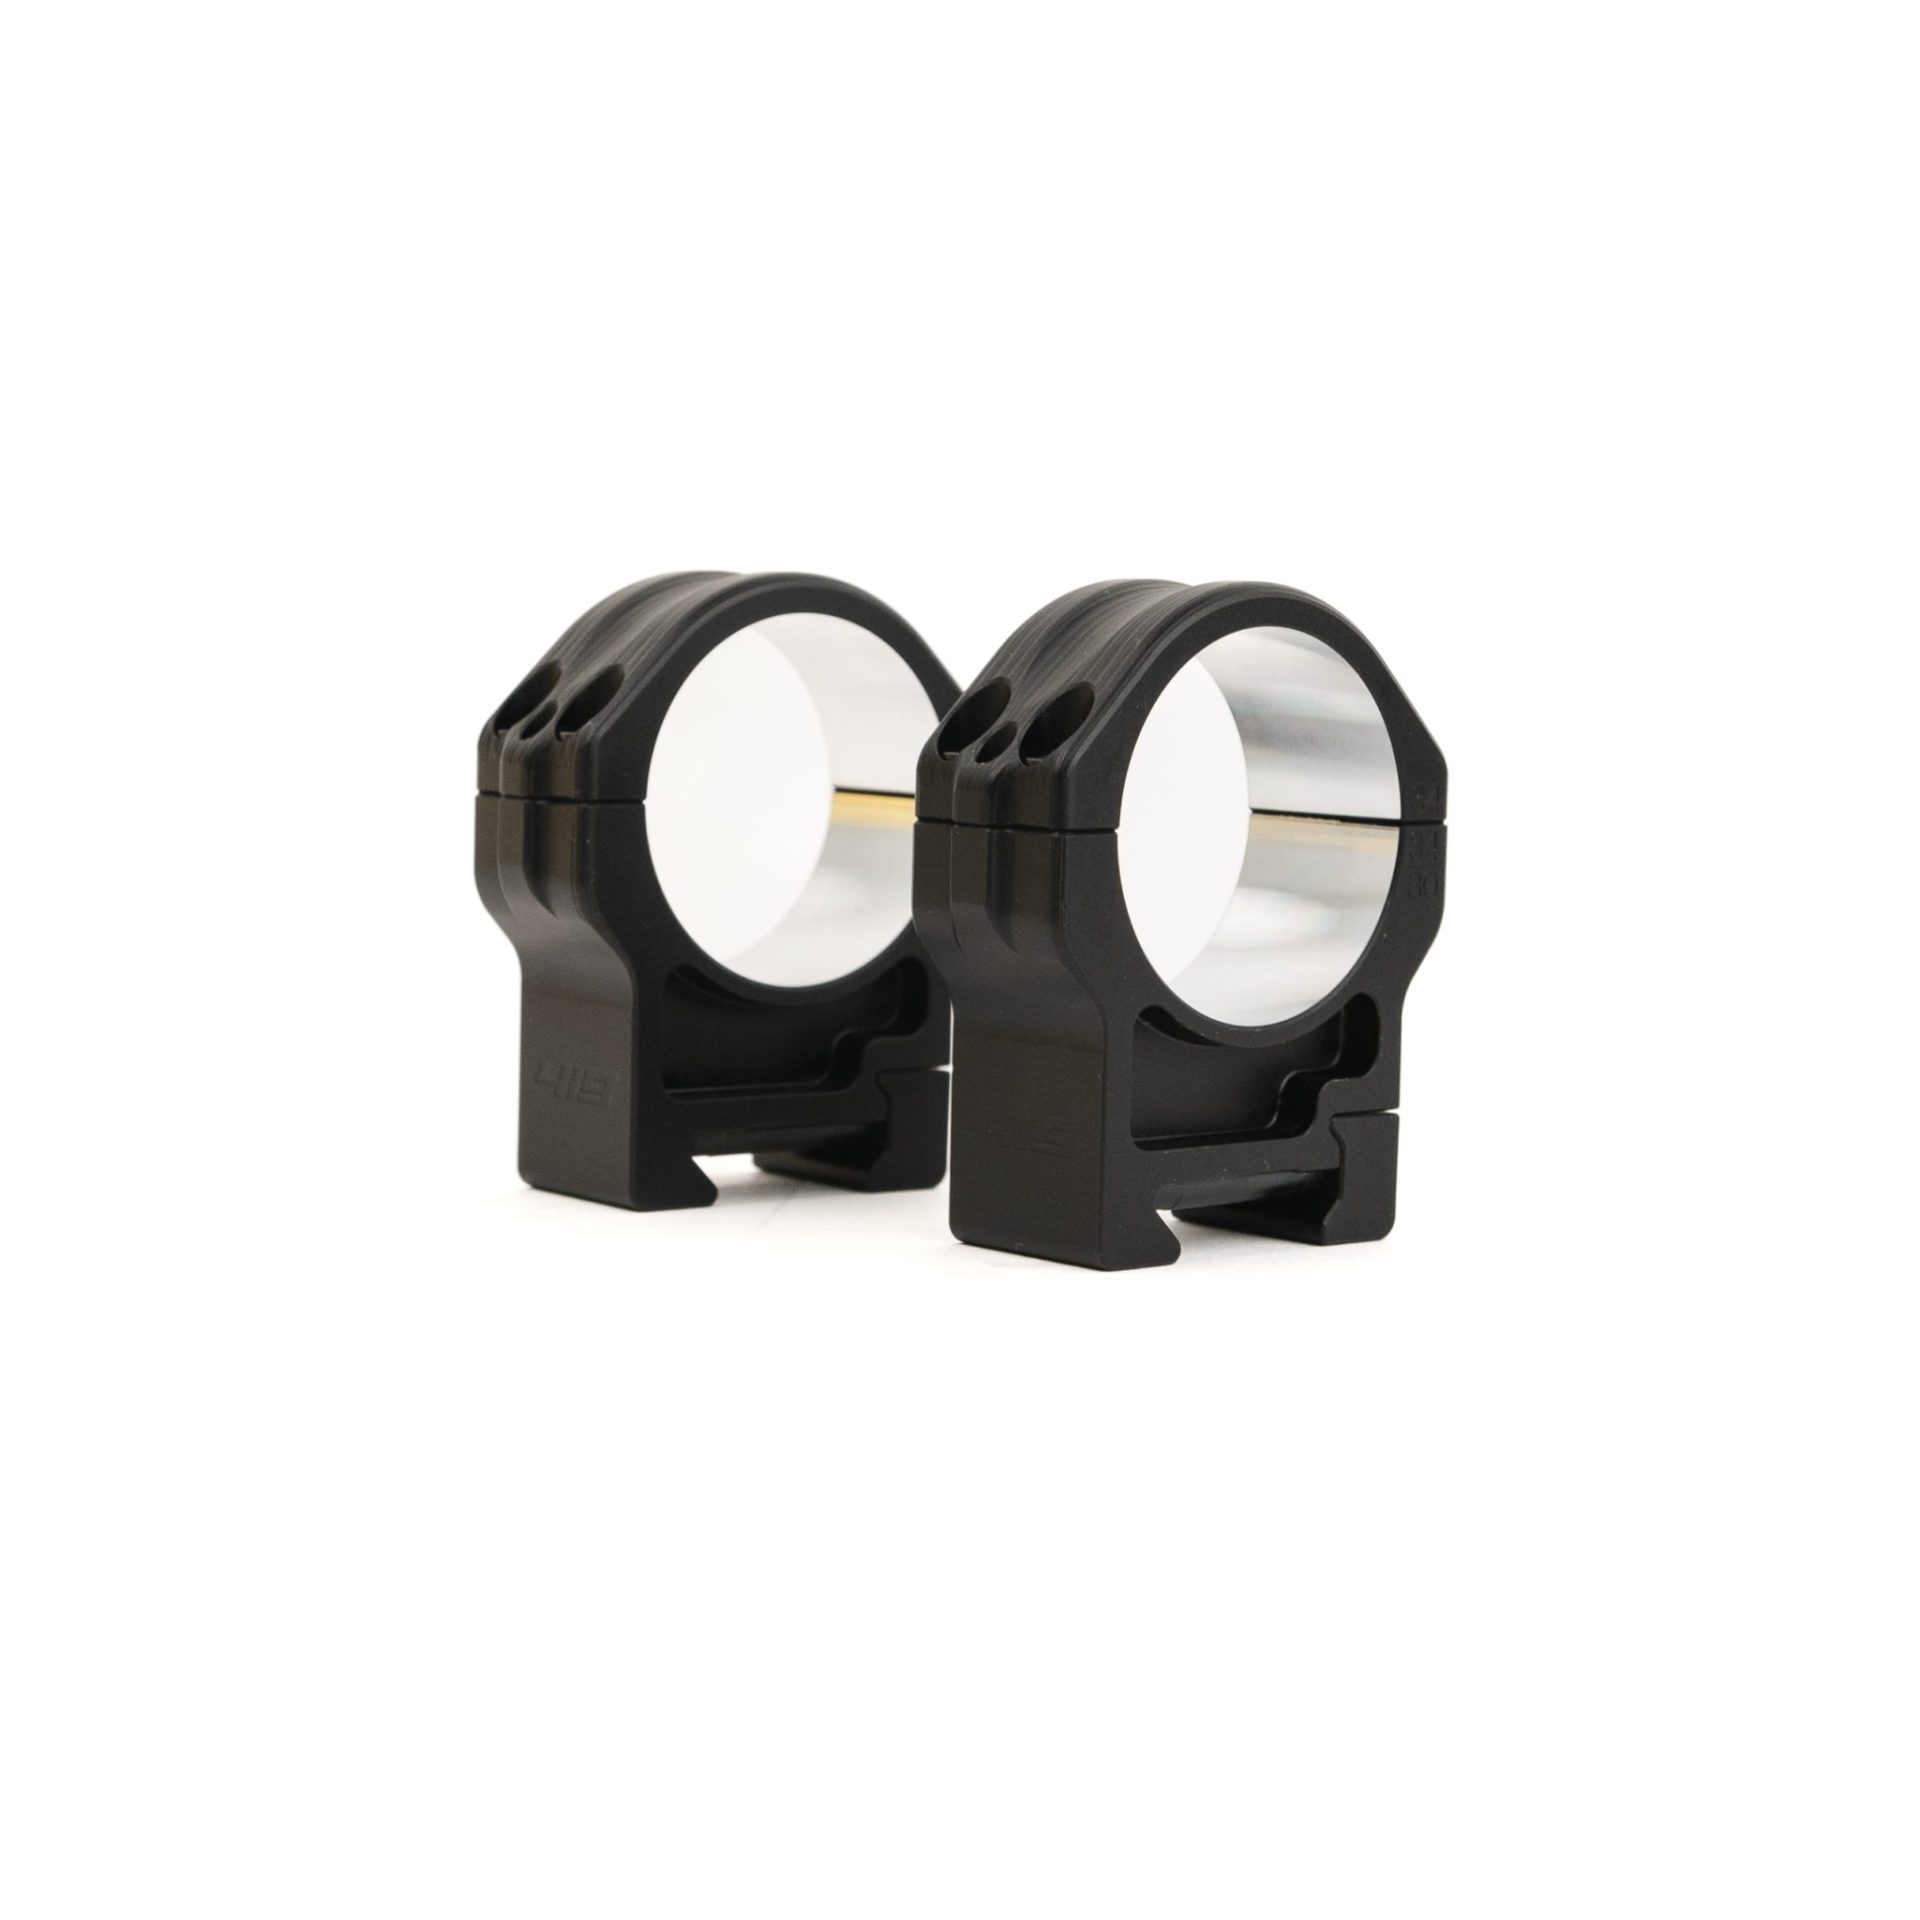
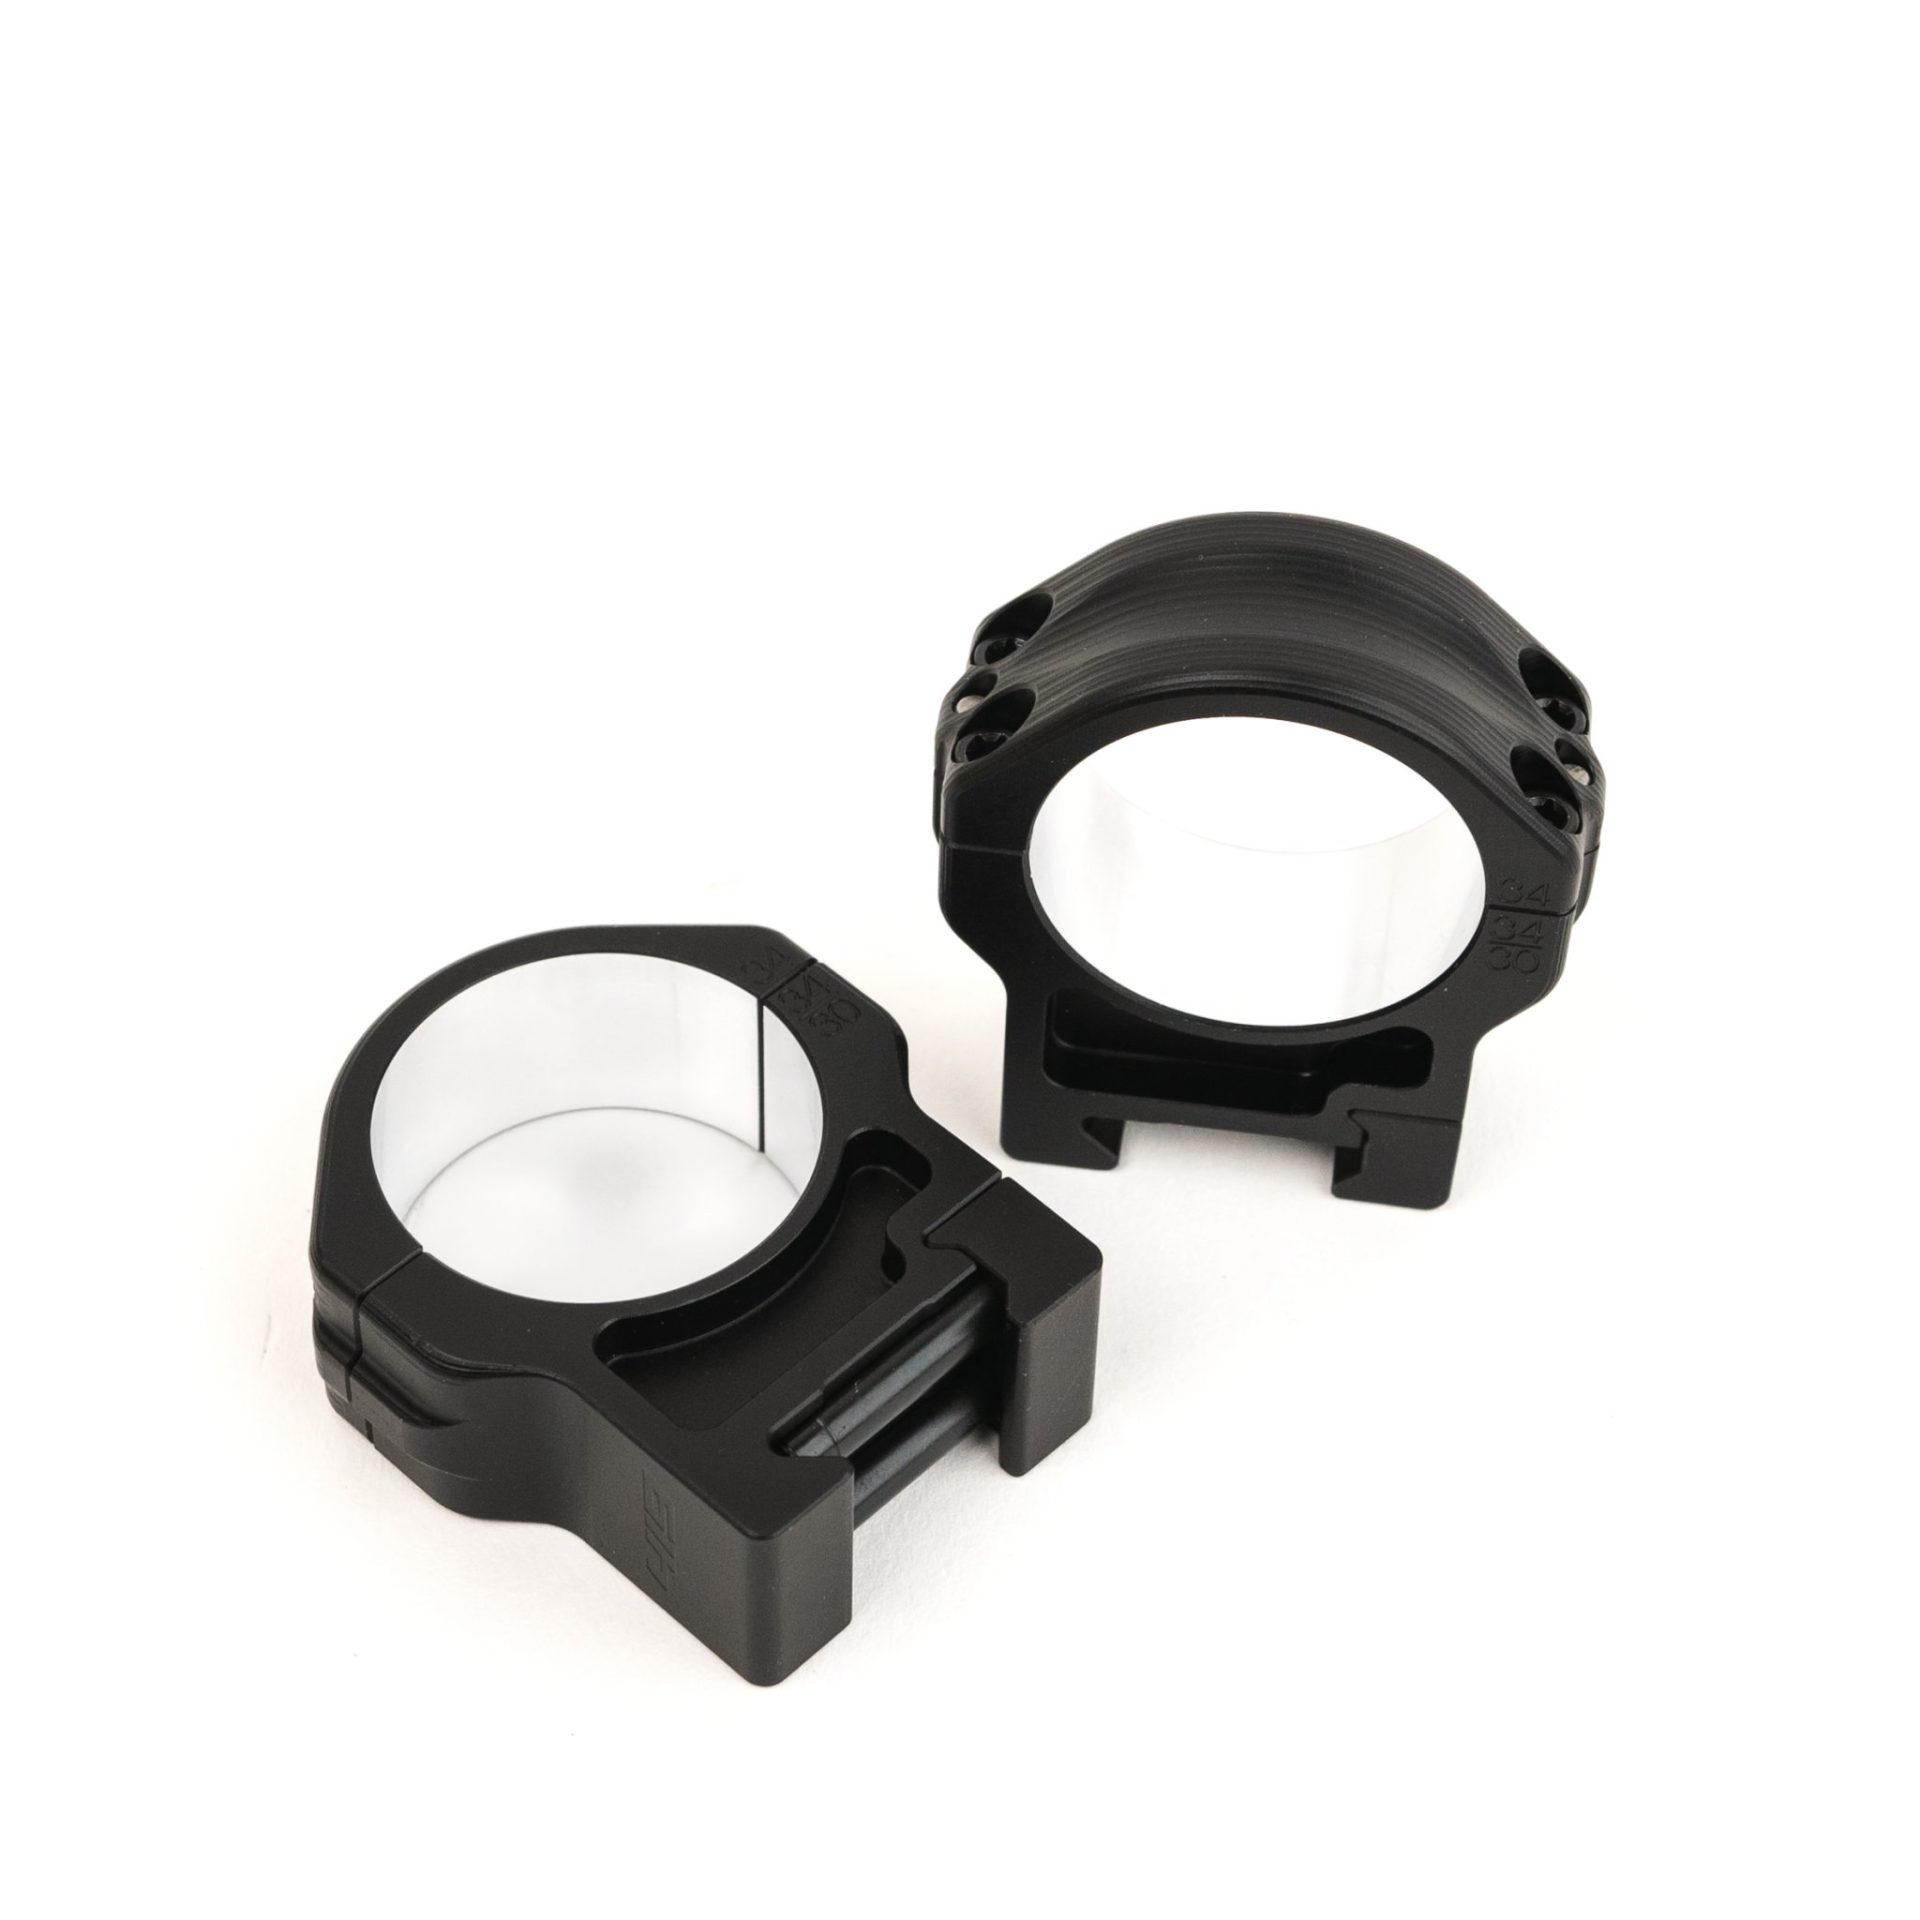
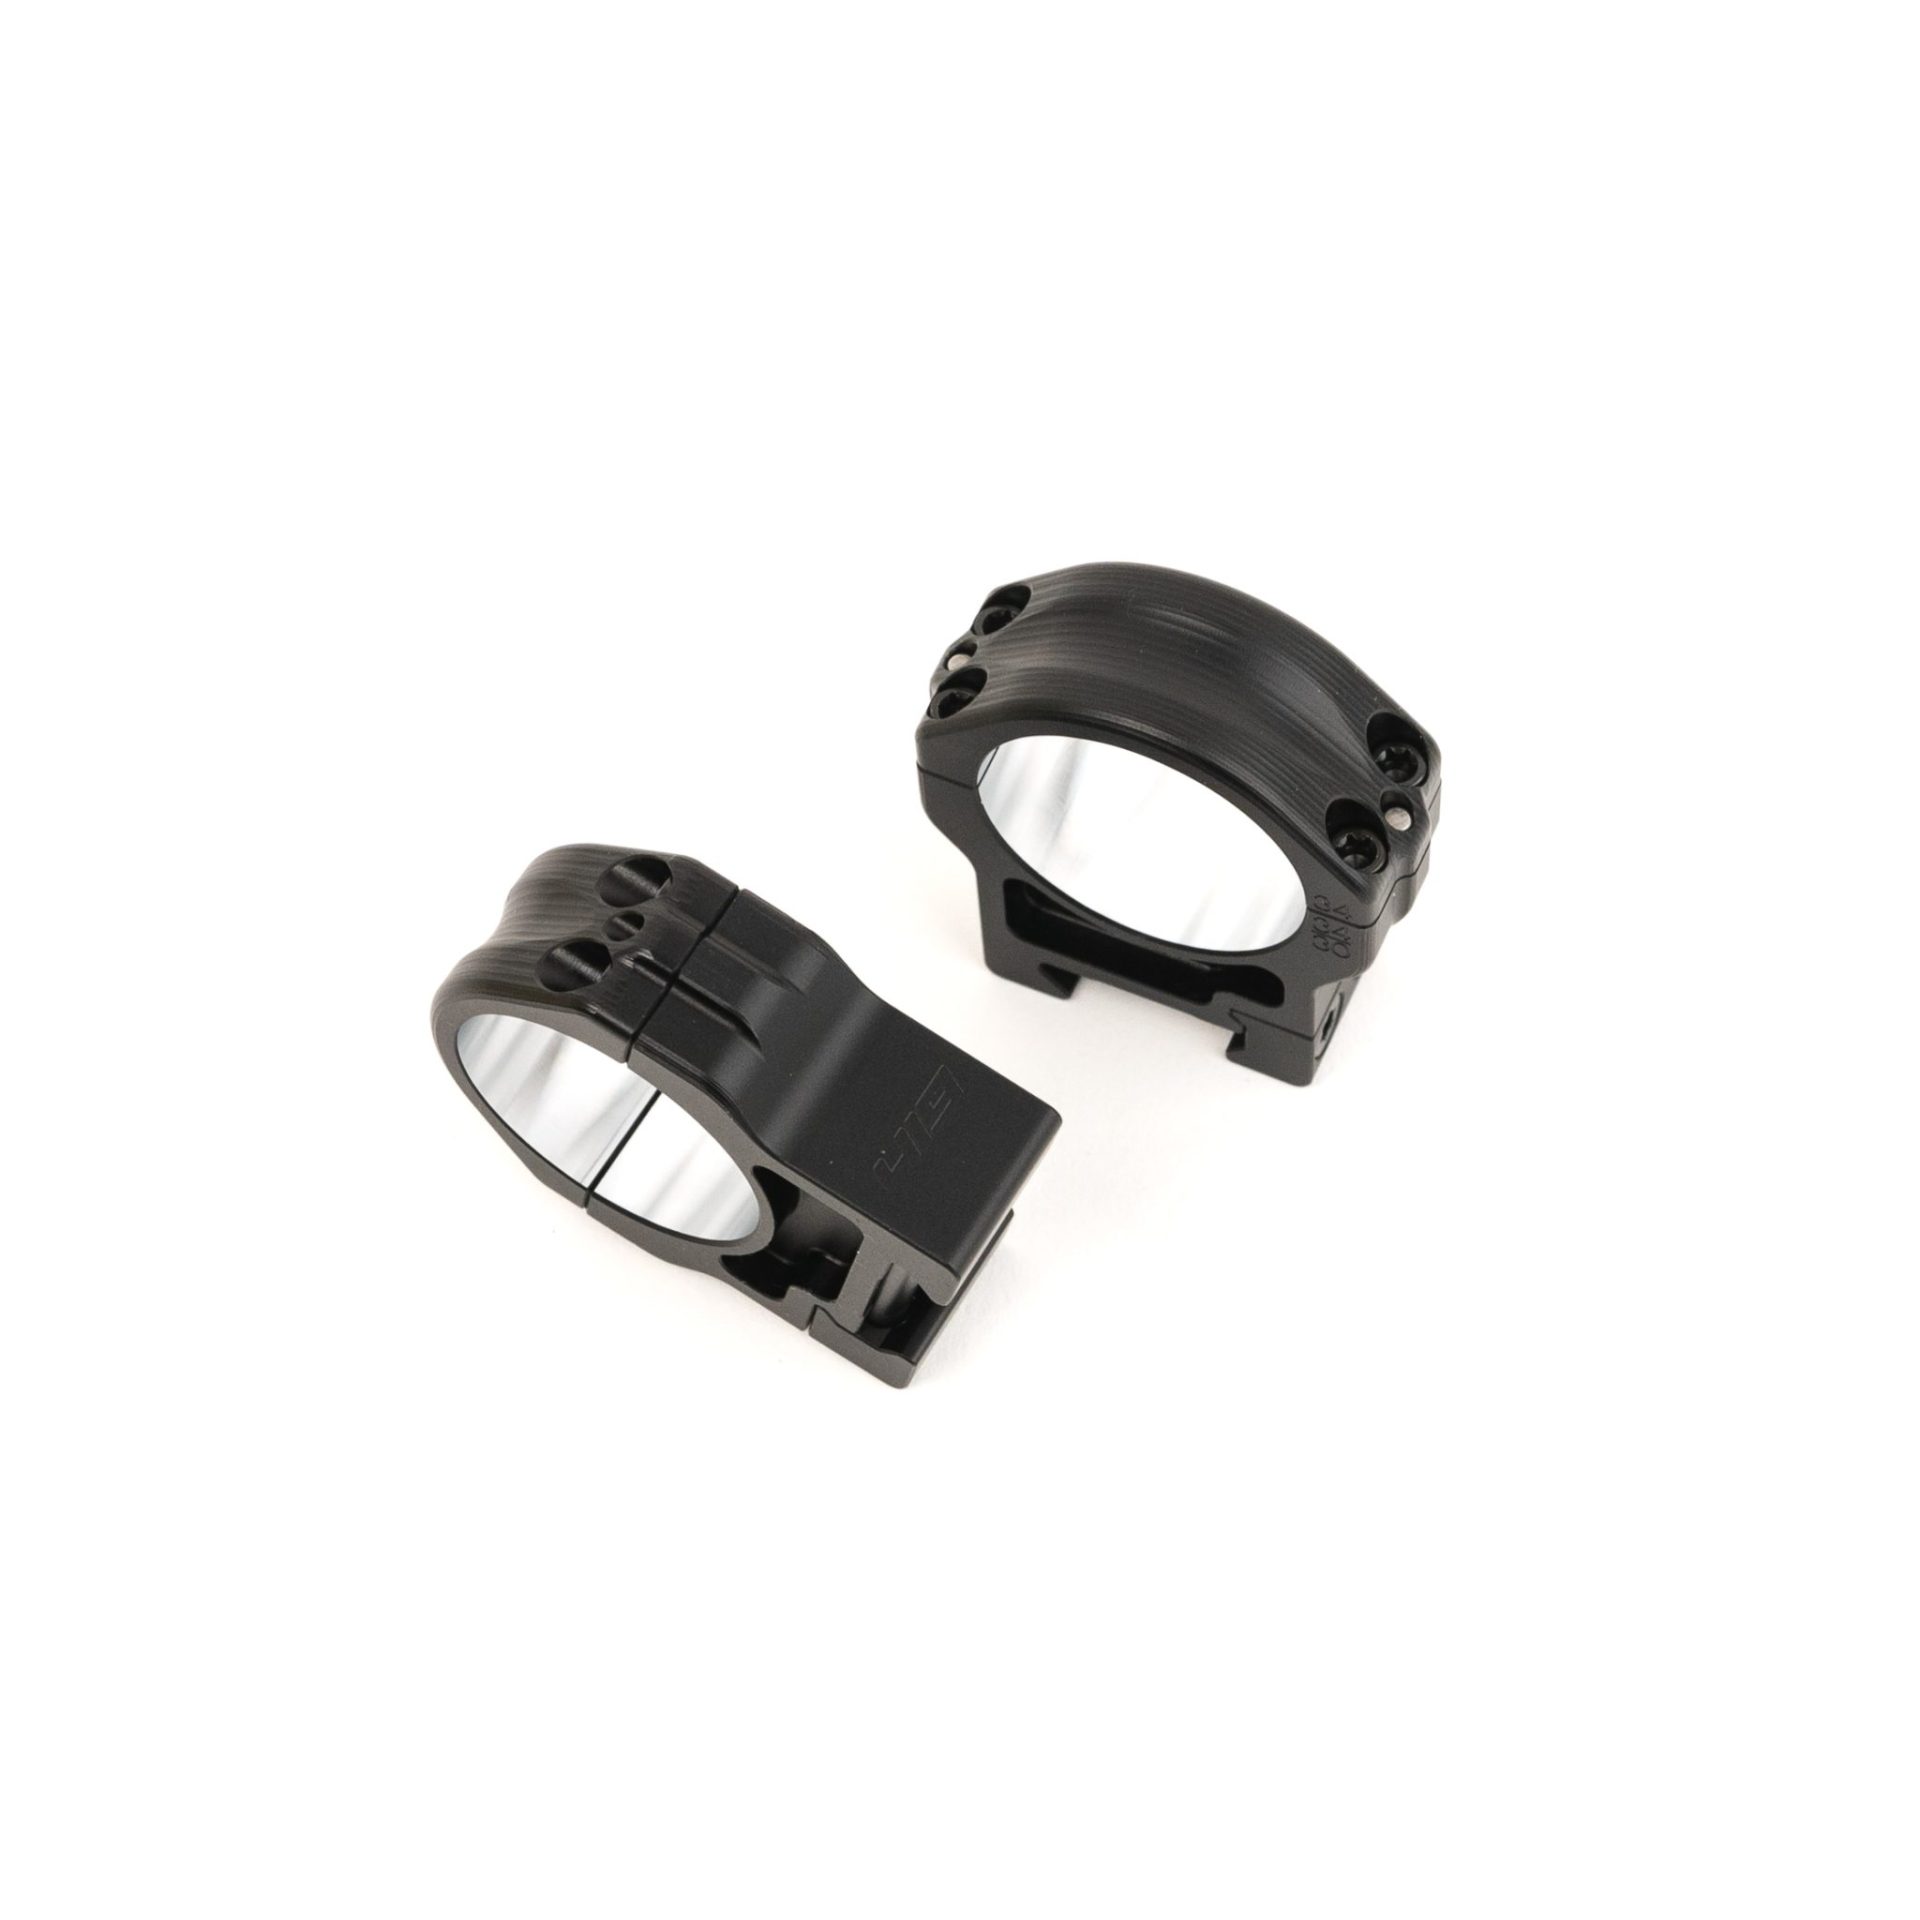
To do this was no small manufacturing task. This led us down a rabbit-hole, ultimately arriving on a process that gets you final-bore matched rings, with raw aluminum internals, for a grip on your optic that is more reliable and more true than anything else made.
Like most rings, these begin as separate parts. We are making the bases and caps in batches. While many will make these parts, send them to anodize, and then just assemble, we produce around the extra steps. Once these parts return from anodize, they are fully assembled, placed back into specially produced rail fixtures, with the caps torqued to spec over specially made spacers (to give the rings space to torque down on the optic), and final-bored as sets in our world-class machining centers. Rings are then brought off the machine in sets, and packaged together so you know that your rings were made for one another, and you can rely on them for decades.
Is it overkill? Probably. But we think it’s the right way. So that’s what we are going to do.
NOTE: TO KEEP THE SIZE AND WEIGHT OF THESE RINGS TO A MINIMUM, THERE ARE NO ACCESSORY ATTACHMENT POINTS ON THESE RINGS. IF YOU WANT TO BE ABLE TO ADD ACCESSORIES TO YOUR RINGS, PLEASE CHECK OUT OUR MATCH OR TACTICAL OFFERINGS.
SPECS
Material: 7075 Aerospace Grade Billet Aluminum (with Stainless Steel Hardware)
Coating: Type 3 Hardcoat Anodize (internal bore is raw aluminum)
Weight: 4 oz/set (30mm Medium)
Initially available in the variations below, with more options coming throughout 2024:
| 30mm diameter, 24mm height | 34mm diameter, 24mm height |
| 30mm diameter, 30mm height | 34mm diameter, 30mm height |
HOW TO INSTALL
NOTE: Before the installation, ensure that the picatinny rail, scope tube and scope ring bore are clean and free from any debris or foreign material to prevent any potential damage to your scope or action during installation. Your required tool is a T20 Torx bit, 45 in/lb torque limiter, and an 18 in/lb torque limiter.
- Remove the ring cap from the ring base and loosely install the scope rings onto your scope tube where the rings will freely rotate on the scope. It is imperative to keep the matching cap to the matching scope ring base in the correct orientation throughout the installation of the rings. It is not imperative that the clamp bars are on the left or right side as long as both rings are facing the same direction.
- Loosen the clamp bars and place the scope and scope ring assembly onto the rifle action in the proper location for correct eye relief. A light coat of oil on the mounting surfaces of the picatinny sections is recommended but not required.
- With the scope loosely mounted into the rings and onto the rifle, torque the scope ring cap screws down onto the optic in cross-hatch pattern using the T20 Torx wrench. Initially tighten the bolt until the head of the bolt just makes contact with the cap. Once all eight bolts are tightened in a cross-hatch pattern repeat the process, incrementally increasing torque until you achieve 18 in/lbs of torque on each bolt. Ensure that there is an even gap between the cap and the base on each side of the rings.
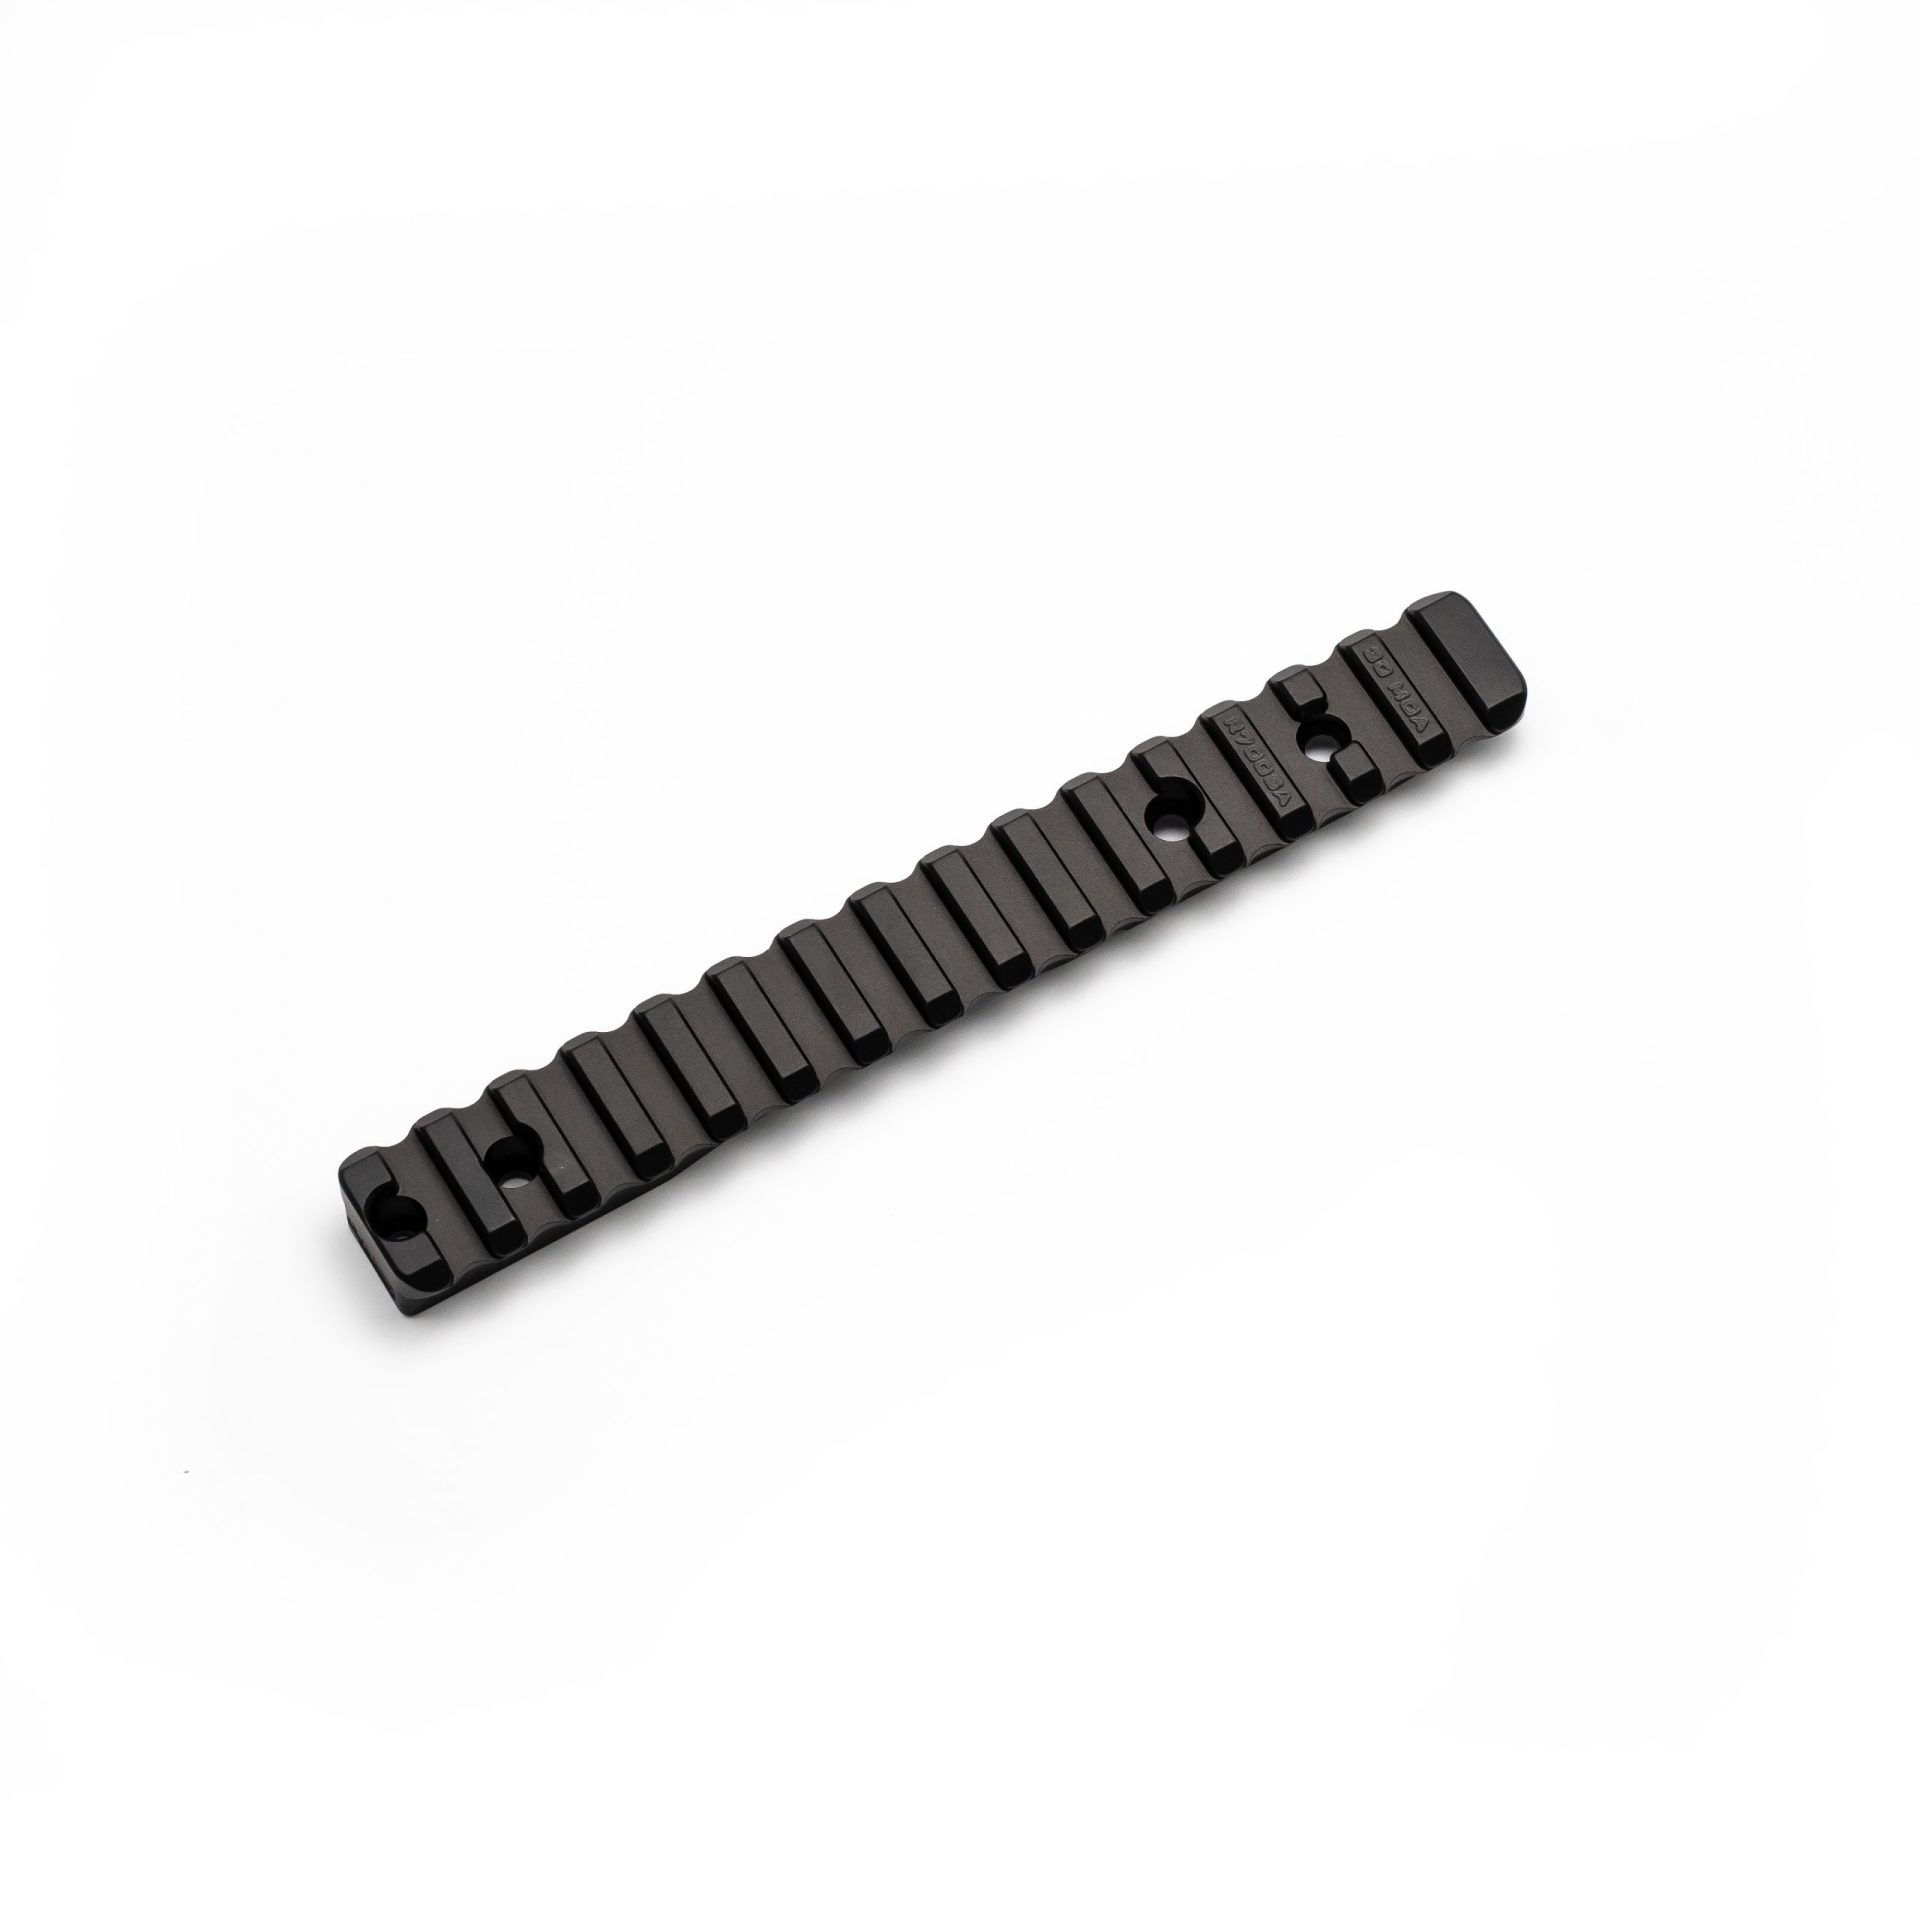
- Push the rings forward into the picatinny section to ensure contact between the clamp bar bolts and the picatinny lug section to eliminate slip from recoil.
- Tighten the clamp bar bolts, alternating between each bolt as you incrementally increase torque until 45 in/lbs is achieved.
- Loosen cap screws, level your scope to your action then torque the cap screws back down following the procedure from step 3.
| Weight | 1 lbs |
|---|---|
| Dimensions | 5 × 4 × 2 in |
| Tube Diameter | 1", 30mm, 34mm, 35mm, 36mm, 40mm |
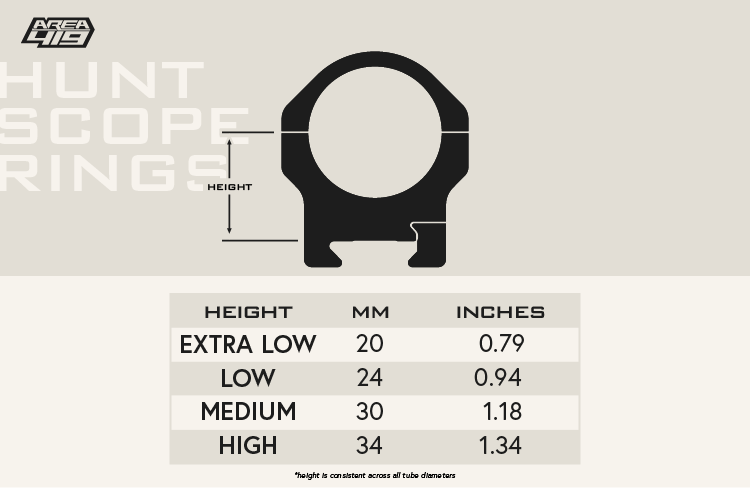
| Mount Height | Extra Low (20mm), Low (24mm), Medium (30mm), High (34mm) |




Kevin Johnson (verified owner) –
Also impressive quality and workmanship. Will be buying more Area 419 products.
Michael Power (verified owner) –
Perfect scope rings to accompany my 419 scope rail/base
Mark S. (verified owner) –
Great quality.
BRYAN (verified owner) –
Perfect!!!! My second Area 419 product. Such a fine piece of tooling. Usually I can find a wish or want I’d change. Not with these. They are flawless.
David (verified owner) –
Excellent Quality
Chris (verified owner) –
Excellent. Very secure holding the scope and superbly well made!
Jason S. (verified owner) –
Generally rings are over priced. These are relatively inline with others but I also believe the final reaming and unfinished surface is superior to other brands that cost more
LANCE G. (verified owner) –
As with the rail, amazingly tight tolerance. Couldn’t be happier with the setup.
Michael P. (verified owner) –
Expensive but QUALITY 👌
James S. (verified owner) –
Quality and craftsmanship. No stacked tolerances and will always purchase these rings. Shipping is fast!!!
Michael (verified owner) –
I searched for info about the rings thickness on your site but couldn’t find any so you may want to add that the Hunt Rings are 19mm/ 3/4in thick which was a selling point for me also.
Thomas G. (verified owner) –
They build rings on a whole other level than other company’s. They’re so overbuilt and well thought out.
Duffy E. (verified owner) –
I put the hunt scope rings on my son’s 350 legend. I know it’s over kill but I’ve learned over time to buy the best and that’s it. The precision and attention to detail in the hunt scope rings is incredible. Don’t think about just buy them. Buy once cry once
Christopher (verified owner) –
These rings are exceptional. Some of the highest quality machining and design I’ve come across for scope rings. Bare aluminum on contact surface with scope definitely grips the scope tube and I have no doubt that even the hardest recoiling rifles will not be able to make these rings slip. Great job Area 419!
Kevin Sadler (verified owner) –
One of the best set of scope rings I’ve ever purchased just unbelievable. Machined perfection.
Jeffery C. (verified owner) –
Took a hot minute to level the scope in the rings. The fit is so perfect, it’s a challenge to move the scope even a small amount with no ring caps on. Once you get everything lined up and torqued to spec…it’s never moving.
Robert Allison (verified owner) –
Best rings I’ve ever owned , super machine work and built like I’d build them , and I’ve been a machinist and tool die and cnc machinist for over 40yrs
Ryan B. (verified owner) –
My new favorite scope rings. Fit, finish and quality are second to none. The dowel pins help minimize cap rotation while torquing screws so scope stays level. I also don’t feel the need to lap the rings when installed on quality receiver.
Anonymous (verified owner) –
Some of the best scope rings money can buy
Michael Ibrahim (verified owner) –
Unmatched quality
William T. (verified owner) –
Fit great
William T. (verified owner) –
Works great precision fit on my leupold vx-6
Gregory DeGenaro (verified owner) –
The best hunting rings on the market today. Rock solid precision. The perfect final touch for my new build. Kelbly Nanook, Element XLR MG, carbon fiber 257 Weatherby 1×7 twist.
Lights out perfection.